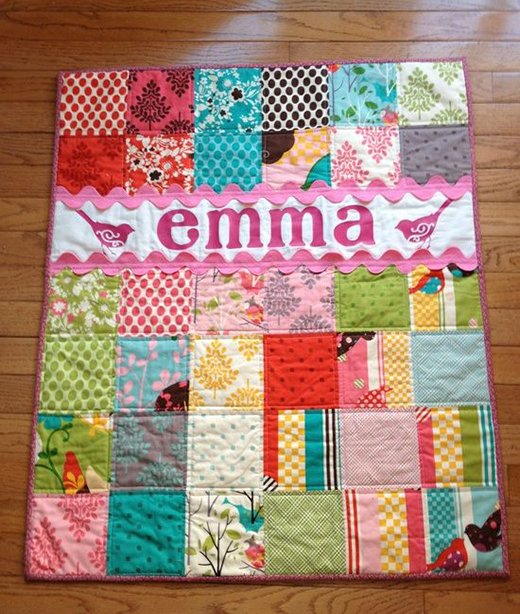
As a child, I remember watching my grandmother skillfully sew intricate quilts that seemed to tell stories with every stitch.
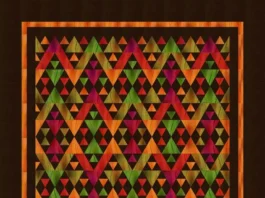
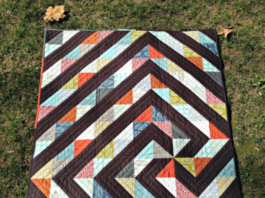
SEE A NEW PATTERN HERE
One of her favorite techniques was the ric-rac applique, a method that adds a unique texture and design to any quilt. Today, I continue this tradition, infusing a bit of my own creativity into the process. In this tutorial, I’ll share with you the step-by-step method to create a beautiful applique using this technique, a delightful blend of tradition and innovation.
Embracing the Art of Quilting: A Journey into Creativity
The applique technique allows for a playful yet sophisticated touch to your quilting projects. By using ric-rac to turn under the edge of an applique shape, you can achieve a charming, scalloped effect. This method works particularly well with simple shapes, offering a lovely combination of texture and design that enhances any quilt.
Understanding the Technique: The Heart of the Project
The beauty of this applique lies in its simplicity and versatility. Using wide-ish trims (about 3/4″ between the widest points), you can create dynamic, eye-catching designs. Although narrower trims can be used, they require greater precision. In this section, I’ll walk you through the specific details and considerations to keep in mind as you embark on this creative journey.

Full Pattern: Click Here
Materials Needed
Before we start, gather the following materials:
- Ric-rac (preferably 3/4″ wide)
- Fabric for the applique shape (in this case, a wedge-y circle)
- Background fabric (pre-quilted if desired)
- Sewing machine
- Pins or a seam ripper (for holding ric-rac in place)
- Scissors
- Iron and ironing board
Preparing to Begin: Tips for Success
- Choosing Your Ric-Rac: Ensure you select a ric-rac that complements your fabric colors. The contrast will highlight the scalloped edges beautifully.
- Precision Matters: When working with narrower ric-rac, be extra careful to keep your stitches centered to avoid falling off either side.
- Pre-Quilting Background: Consider pre-quilting your background fabric for added texture and stability before starting your applique.
PART 3
Step-by-Step Instructions
Step 1: Positioning the Ric-Rac
- Start with a Free End: Leave about 1″ to 1 1/2″ of ric-rac free before you begin stitching. This excess will be folded over to finish the stitching neatly.
- Lay the Ric-Rac: Position the ric-rac on the right side of your circle. Ensure that you can stitch 1/4″ away from the edge of the circle, right down the center of the ric-rac.
Step 2: Stitching Around the Circle
- Begin Stitching: Start sewing 1/4″ away from the edge of the circle, carefully adjusting the ric-rac as you proceed around the shape.
- Adjust as Needed: Continue stitching, ensuring that the ric-rac stays centered. Stop about 2″ before reaching your starting point.
Step 3: Finishing the Ric-Rac Edges
- Folding the Free End: Fold the starting end of the ric-rac up toward yourself, aiming to get the fold in the middle of one of the ric-rac humps pointing toward the center of the applique.
- Overlap and Trim: Overlap the end of the ric-rac with the beginning, trim any excess, and lay the end over the beginning fold.
Step 4: Securing the Ends
- Final Stitches: Finish stitching the ric-rac in place. Use a seam ripper or a similar tool to hold everything in place if necessary.
Step 5: Pressing the Trim
- Flip the Edge: Move to your ironing board and flip the right edge of the trim under the circle, taking the raw edge along with it.
- Press Well: Ensure the trim is even and pressed flat, pulling on it slightly if needed for a smooth finish.
Step 6: Attaching the Applique
- Edge Stitch: Edge stitch your circle onto the background fabric.
- Stitch in the Ditch: Secure the applique by stitching in the ditch on either side of each wedge.
Step 7: Adding the Center Circle
- Applique the Center: Applique a small center circle onto the middle of the larger circle.
- Optional Quilting: Consider quilting in the middle of the circle for added detail, or even finishing the edge of the center circle with more trim.
Additional Tips
- Practice Makes Perfect: Try practicing on a scrap piece of fabric to get the hang of manipulating the trim and maintaining even stitches.
- Use Pins Sparingly: While pins can help, they may distort the trim. Opt for using a seam ripper or another pointy object to hold the trim in place as you sew.
- Consistent Pressing: Pressing well at each step ensures a crisp, professional finish to your applique.
Creating an applique is more than just a quilting technique; it’s a journey into a rich tradition that adds depth and personality to your creations. As you follow each step, you’re not only crafting a beautiful quilt but also connecting with a time-honored method passed down through generations. The applique technique, with its charming scalloped edges and playful texture, offers a delightful challenge and an opportunity for creativity.
Take pride in the meticulous work you’ve done, from the careful placement of the trim to the precise stitching that holds your design together. Each press of the iron, each stitch in the fabric, and each overlap of the trim bring your quilt closer to completion, transforming a simple piece of fabric into a work of art.
Reflect on the skills you’ve honed and the patience you’ve developed throughout this process. Quilting is as much about the journey as it is about the finished product. The applique adds a unique, personal touch to your quilt, making it a special heirloom that can be cherished for years to come.
As you admire your finished project, consider the possibilities for future quilts. Experiment with different shapes, colors, and sizes of trim. Let your creativity guide you, and don’t be afraid to push the boundaries of traditional quilting. Whether you’re a seasoned quilter or a beginner, mastering this technique opens up a world of artistic expression and joyful creation.
Happy quilting!


