
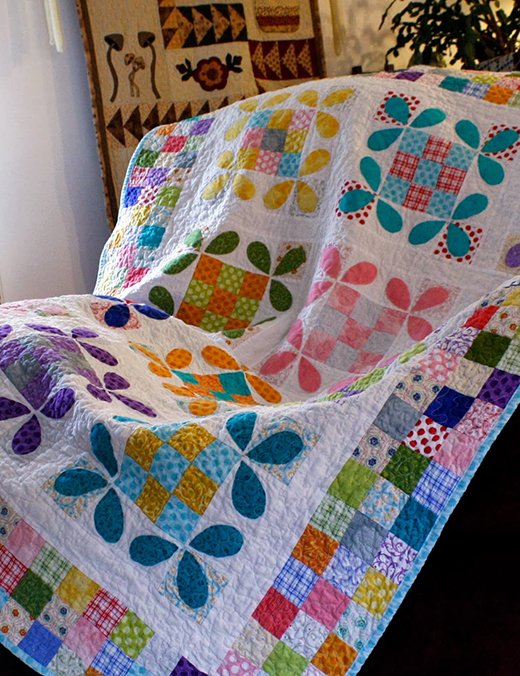
From the moment I held my grandmother’s quilt in my hands, I knew there was something magical about the art of quilting.
SEE A NEW PATTERN HERE
The intricate patterns, the vibrant colors, and the meticulous craftsmanship spoke volumes of the stories and traditions embedded in each stitch.
It was during those early years, sitting by my grandmother’s side, that I fell in love with quilting. This passion led me to explore various techniques and designs, but one project that holds a special place in my heart is the Honey Bee quilt block. A project that combines piecing and appliqué, it brings to life the diligent honey bee, a symbol of hard work and sweetness, elements that resonate deeply with my quilting journey.
The Buzz Around the Honey Bee Quilt Block
The Honey Bee quilt block, a charming and intricate design from August of 1929, has always captivated me. It’s not just the beauty of the design that draws me in but the rich history and the techniques involved in its creation. This block is a delightful blend of traditional piecing and the artful application of appliqué, allowing quilters to showcase their precision and creativity.
The Honey Bee’s significance goes beyond its visual appeal; it symbolizes community, diligence, and the importance of each individual’s contributions to a larger purpose. Crafting this block is like weaving a story of unity and perseverance, themes that are ever so relevant in our lives.
Now, let’s embark on this quilting journey together, starting with the materials needed and moving through each step carefully, to bring the Honey Bee quilt block to life.
Gathering the Nectar: Materials for Your Honey Bee Quilt
Before embarking on our quilting adventure, it is essential to gather all the materials that will bring our Honey Bee quilt block to life. Just like a bee meticulously collects pollen, we shall carefully assemble our quilting supplies:
SEE A NEW PATTERN HERE- Background Fabric:
- (4) 4¾” x 4¾” squares for outside corners
- (4) 4¾” x 8″ strips for the lattice
- (4) 3″ x 3″ squares for the center
- Dark Blue Fabric: 5″ x 20″ strip
- Medium Red Fabric: 5″ x 10″ strip
- Orange Fabric: (5) 3″ x 3″ squares
- Non-woven Lightweight Fusible:
- 5″ x 10″ strip
- 4½” x 19″ strip
- Permanent marking pen
- Template plastic
Full Pattern: Click Here
Preparing the Hive: Setting the Foundation
As we prepare to create our Honey Bee quilt block, consider this a journey rather than a destination. Take a moment to familiarize yourself with the sewing tools and environment. Ensure your sewing machine is ready, your fabrics are pressed and your workspace is clear. This is not just about creating a quilt block; it’s about enjoying the process, learning new skills, and celebrating each step.
With your materials at hand and your workspace prepared, you are ready to embark on the creative process. Let’s take it one stitch at a time, ensuring precision and care as we lay each piece of our quilting puzzle.
Step-by-Step Instructions: Crafting the Honey Bee Quilt Block
Embarking on the creation of the Honey Bee quilt block is an adventure in color and form. Let’s begin:
- Making the Nine-Patch Center:
- Start by laying out the five orange 3″ squares and four background 3″ squares into three rows to form a classic nine-patch pattern.
- Sew the squares of the first row to each other, then proceed with the second and third rows. A scant ¼” seam allowance ensures that everything fits together snugly.
- Press all seams away from the center to reduce bulk.
- Assembling the Nine-Patch:
- Once your rows are ready, sew them together, aligning the seams carefully for a crisp, clean look. Again, press the seams, this time away from the middle row to maintain a flat and even surface.
- Adding the Lattice and Corners:
- Arrange the four 4¾” x 8″ lattice strips and four 4¾” squares for the outer corners around your nine-patch center.
- Sew these to the center patch, treating each addition as a separate border, and press the seams toward the lattice to frame your nine-patch beautifully.
- Creating Appliqué Pieces:
- Use the template plastic to trace and cut out the shapes for the bee’s body and wings. These templates will be your guide to precision.
- Place the fusible interfacing smooth side up, trace the appliqué shapes with a permanent marker, leaving a small space between each.
- Pin the interfacing, rough side down, to the wrong side of your chosen fabric for the bee’s body and wings.
- Sew directly on the traced lines, then trim about ⅛” away from your stitching, and snip a small hole in the center of each interfacing piece.
- Turn the shapes right side out, use a wooden iron or a point turner to smooth out the edges, and press.
- Arranging the Appliqué:
- Position the appliqué bee body and wings on the background squares, referring to the block layout as a guide for placement.
- Once satisfied with the arrangement, fuse the pieces in place following the interfacing manufacturer’s instructions.
- Securing the Appliqué:
- With either invisible thread for a subtle finish or a matching thread for a more traditional look, machine-stitch around the edges of the appliqué pieces. A blind hem stitch or a blanket stitch will both work beautifully to secure the shapes and add decorative detail.
After completing these steps, your Honey Bee quilt block should measure 8″ square and be abuzz with character and charm.
Additional Tips: Ensuring a Buzz-worthy Finish
- Always remember to test your stitch length and tension on a scrap of fabric before beginning your appliqué.
- Consider using a stabilizer behind your nine-patch when performing the appliqué to prevent any puckering.
- If new to appliqué, practice your stitches on a spare piece of fabric to gain confidence before moving on to your quilt block.
As you press the final seams of your Honey Bee quilt block, take a moment to appreciate the journey you’ve embarked on. Each piece of fabric, each stitch, represents a moment in time, a decision made, and a skill honed. This quilt block is not just a component of a larger quilt; it’s a testament to your dedication and creativity. May the Honey Bee quilt block be a symbol of your craftsmanship and the joy that quilting brings to your life.